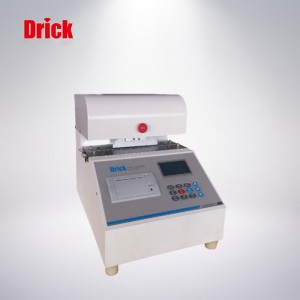
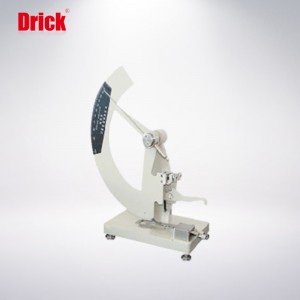
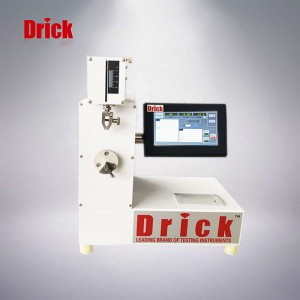
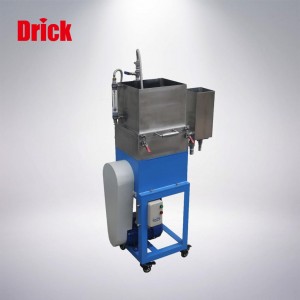
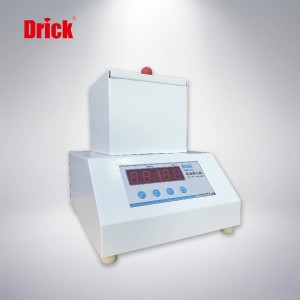
DRK119 Softness Tester
The DRK119 softness tester is a new type of high-precision intelligent tester that our company researches and develops according to relevant national standards and adopts modern mechanical design concepts and computer processing technology for careful and reasonable design. It adopts advanced components, supporting parts, and single chip. Microcomputer, reasonable structure and multi-functional design. Chinese and English display, with various parameter testing, conversion, adjustment, display, memory, printing and other functions included in the standard.
Features
1. Using high-precision load cell to ensure that the test accuracy error is within ±1%. Better than ±3% specified by the standard.
2. It adopts stepping motor control, the measuring head is accurate and stable, and the measurement result is reproducible.
3. LCD display in Chinese and English, man-machine interface operation, automatic test, with test data statistical processing function, micro-printer output.
4. The test results are automatically memorized and displayed, reducing human error, easy to operate, and stable and correct results. Single measurement results can be stored.
5. Statistical analysis function, including average value, standard deviation, maximum/minimum value.
6. Can be equipped with RS-232 output interface.
Applications
This instrument is a test instrument that simulates the softness of the hand. It is suitable for the softness determination of high-grade toilet paper, tobacco sheets, non-woven fabrics, sanitary napkins, facial tissues, films, textiles, fiber fabrics and other materials, and is used to evaluate the physical properties of semi-finished products and final products.
Technical Standard
GB/T8942 “Determination of Paper Softness”.
TAPPI T 498 cm-85: Suitable for the softness of toilet paper.
IST 90-3 (95) standard non-woven fabric Handle-o-meter stiffness test method.
Product Parameter
| Project | Parameter |
| Range | 1000mN |
| Resolution | 0.01mN |
| Indication error | ±1% (less than 20% of the upper limit of the measurement, 1mN beyond the specified range is allowed) |
| Repeatability error of indication | <3% (less than 20% of the upper limit of the measurement, 1mN beyond the specified range is allowed) |
| Total stroke of probe | 12±0.5mm |
| Probe indentation depth | 8~8.5mm |
| Specimen table slit width (four gears) | 5mm, 6.35mm, 10mm, 20mm, width tolerance ±0.05mm |
| Parallelism error on both sides of the slit width of the sample table | ≤0.05mm |
| Probe alignment error | ≤0.05mm |
| Power supply | AC220V±5% |
| Dimensions (Length×Width×Height) | 240×300×280) |
| Weight | About 24kg |
Product Configuration
One host, one power cord, one manual, four rolls of printing paper.
Note: Due to technological progress, the information will be changed without notice. The product is subject to the actual product in the later period.
Products categories
-

Phone
-

E-mail
-

Whatsapp
-

Top


