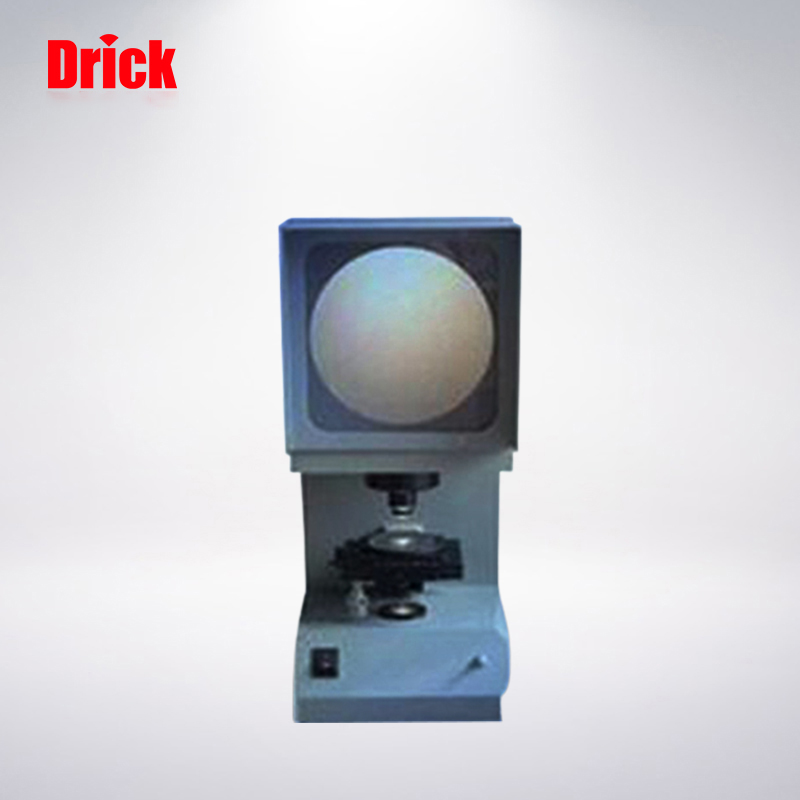
CST-50 Charpy Projector
The CST-50 impact specimen notch projector is designed and developed by our company based on the actual needs of the current domestic users and the requirements of the impact specimen notch in GB/T229-94 “Metal Charpy Notch Impact Test Method” A special optical instrument for checking the processing quality of Charpy V and U impact specimen notch. CST-50 Impact Specimen Notch Projector uses the optical projection method to test the V and U notches of the impact specimen. The comparison of standard model diagrams is used to determine whether the notch processing of the tested impact sample is qualified. Its advantages are simple operation, intuitive inspection and comparison, and high efficiency.
Product Description:
The CST-50 impact specimen notch projector is designed and developed by our company based on the actual needs of the current domestic users and the requirements of the impact specimen notch in GB/T229-94 “Metal Charpy Notch Impact Test Method” A special optical instrument dedicated to checking the processing quality of Charpy V- and U-shaped impact specimen notches. The CST-50 impact specimen notch projector uses the optical projection method to test the V-shaped and U-shaped notches of the impact specimen. The comparison of standard model diagrams is used to determine whether the notch processing of the tested impact sample is qualified. Its advantages are simple operation, intuitive inspection contrast, and high efficiency. For the Charpy V-notch impact test, due to the strict requirements for the V-notch of the sample (the sample notch depth is 2mm, the angle is 45º, and the tip of the sample notch requires R0.25±0.25), so in the entire test process, the sample’s Whether the V-notch processing is qualified or not has become a key issue. If the processing quality of the sample notch is unqualified, then the test result is unreliable, especially the small change in the tip of the R0.25mm notch (the tolerance zone is only 0.25mm). Causing a steep jump in the test results, especially at the critical value of the test, will cause the product to be rejected or qualified, which are two diametrically opposite results. In order to ensure that the processed Charpy V-shaped gap is qualified, the processing quality inspection of the gap is an important quality control method.
Technical Parameter:
1. Diameter of the projection screen: 180
2. Workbench size: square workbench: 110×125
Round table: ∮90
Diameter of workbench glass: ∮70
3. Workbench stroke: Longitudinal: 10mm Lateral: 10mm Lifting: 12mm
Rotation range of worktable: 0~360º
4. The magnification of the instrument: 50×; the magnification of the objective lens: 2.5× the magnification of the projection objective
20×; light source (halogen lamp); 12V/100W
5. Power supply: 220V/50Hz; weight: about 18kg
6. Dimensions: 515×224×603mm (length×width×height)
Products categories
-

Phone
-

E-mail
-

Whatsapp
-

Top

